

Plywood Board / White Spray Paint / Gold Paint Pens
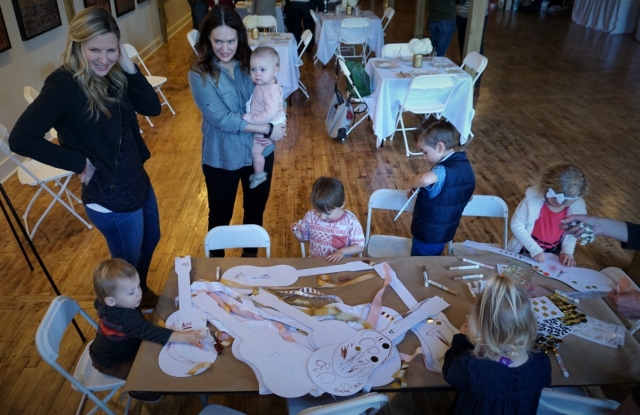
I knew I wanted some activities for all the kids (and adults, too) to keep them occupied and to not be bored, so I decided to set up different stations with some different activities. Always a good idea to give the kids something to focus on! Here’s what I did:
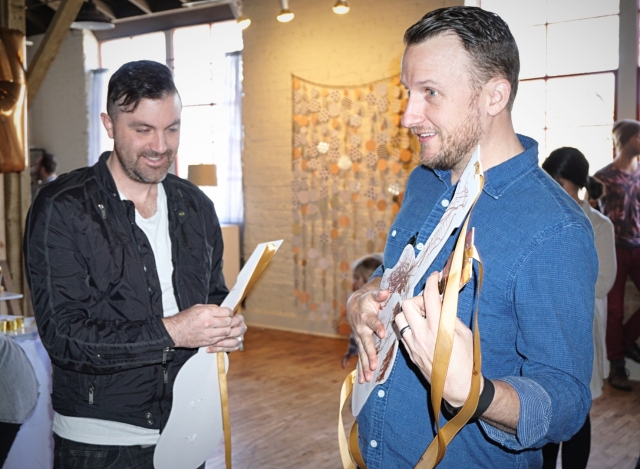
“Decorate your own guitar”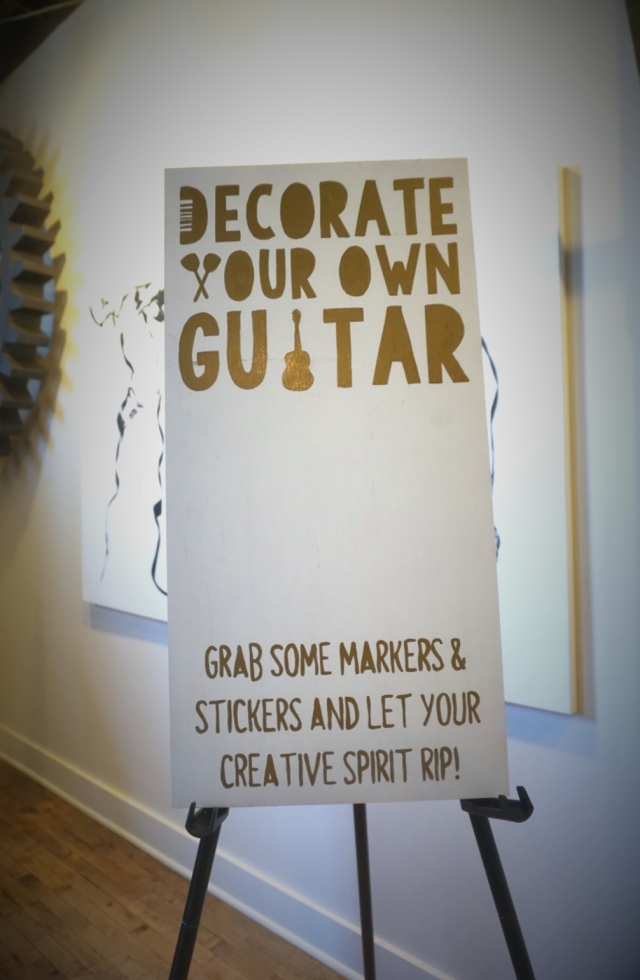
Plywood Boards / White Spay Paint / Gold Paint Pens
“Music Area”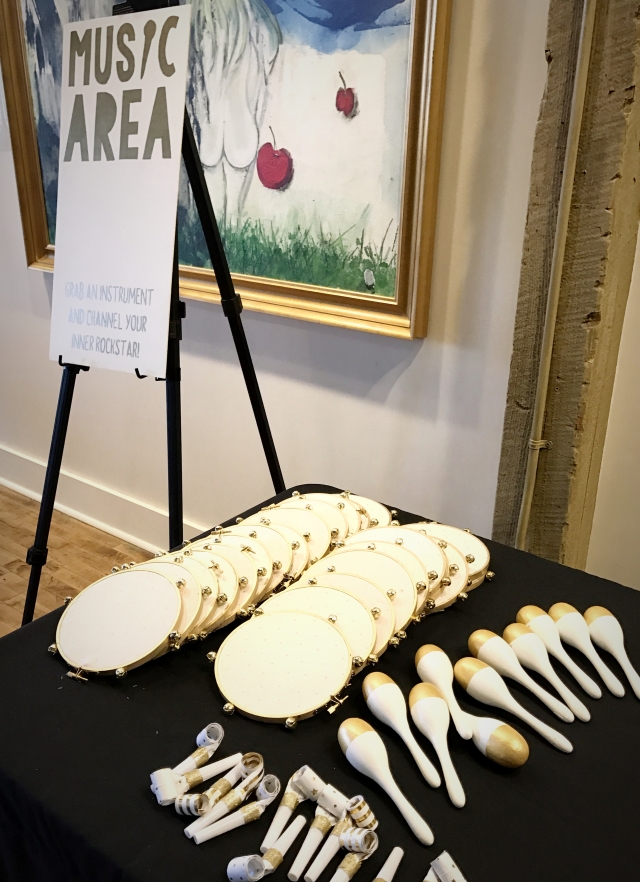
Wood Hoop / Bells / Fabric / Maracas (painted) / Party Blowers
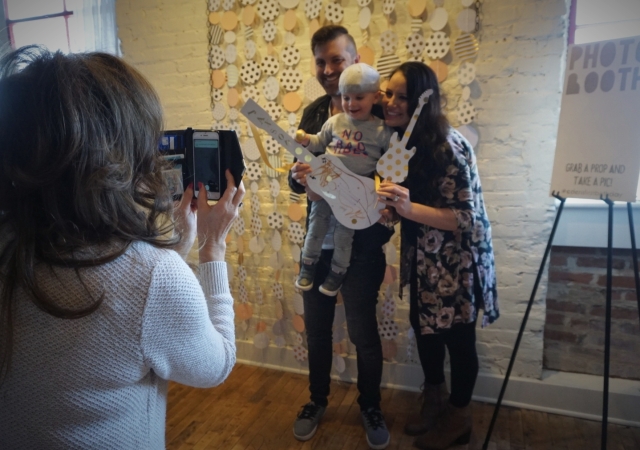
“Photo Booth”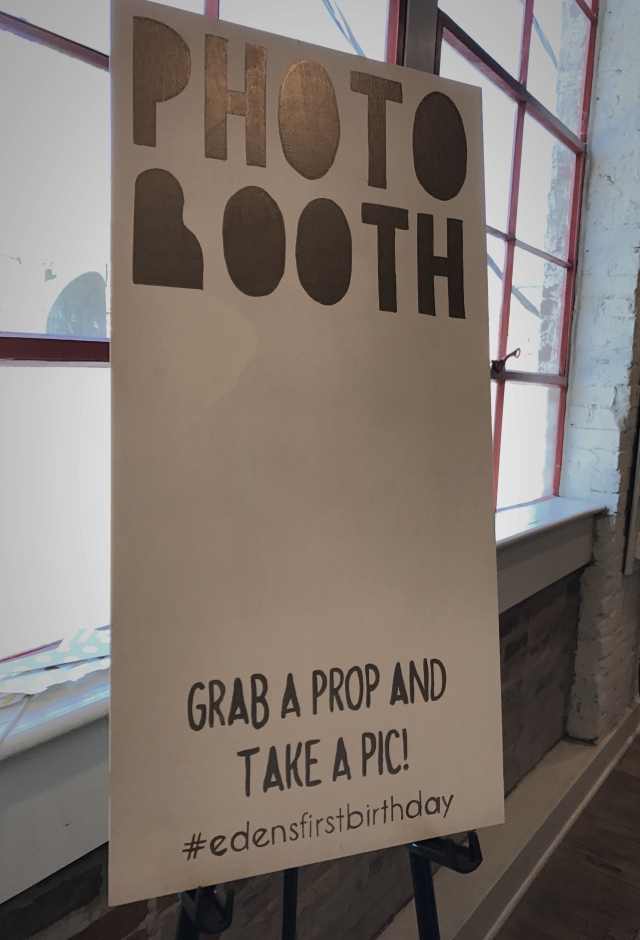
Plywood Boards / White Spray Paint / Gold Paint Pens
I made these signs for each area to block off the different areas. I usually design these on the computer and then make a template. I buy plywood boards from a craft store (I got these from Joann’s) and paint them. For these I just used a gold paint pen to write out the lettering.

Plywood Board / White Spray Paint / Gold Paint Pens
Decorate you own guitar:
I found you could buy cardboard cutouts of guitars on Amazon, so I ordered them, stapled some ribbon to be the “guitar strap” and put out stickers and markers and let the kids go to town. I think they really enjoyed customizing and decorating their own guitars. Buy the guitars here.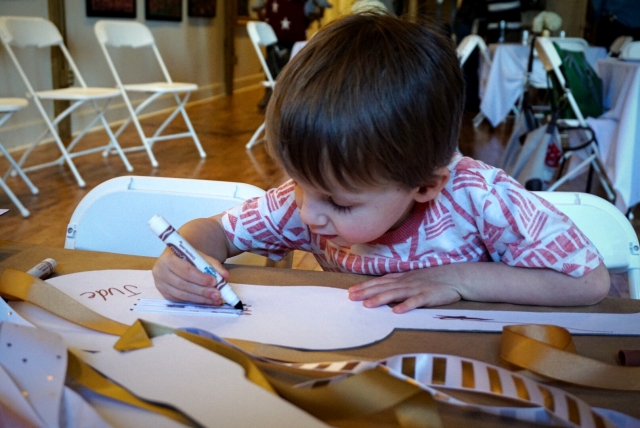
Cardboard Guitars
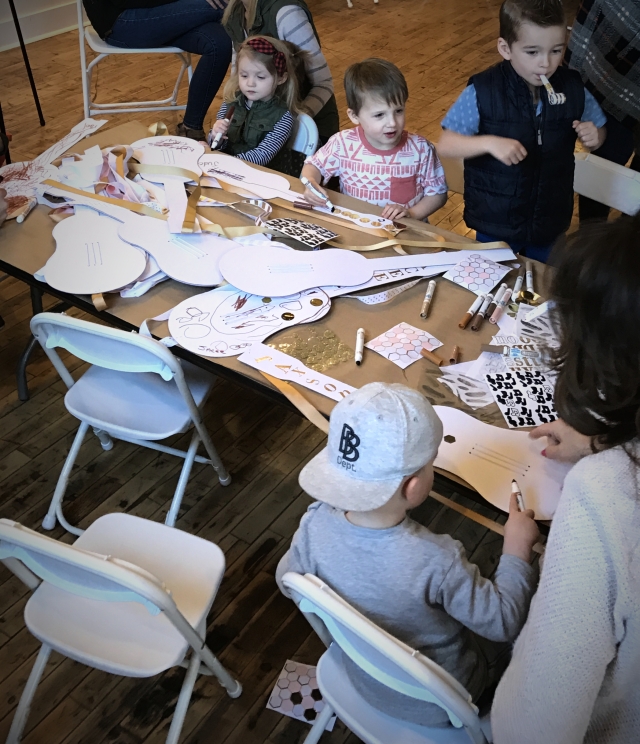
Cardboard Guitars / Music Note Stickers
Music Area:
I also wanted a music area where everyone could channel their inner rock star or get out some of that energy created by all the sugar. I found the “paint your own” maracas on Amazon – does Amazon have everything you’d ever need???? Order them here.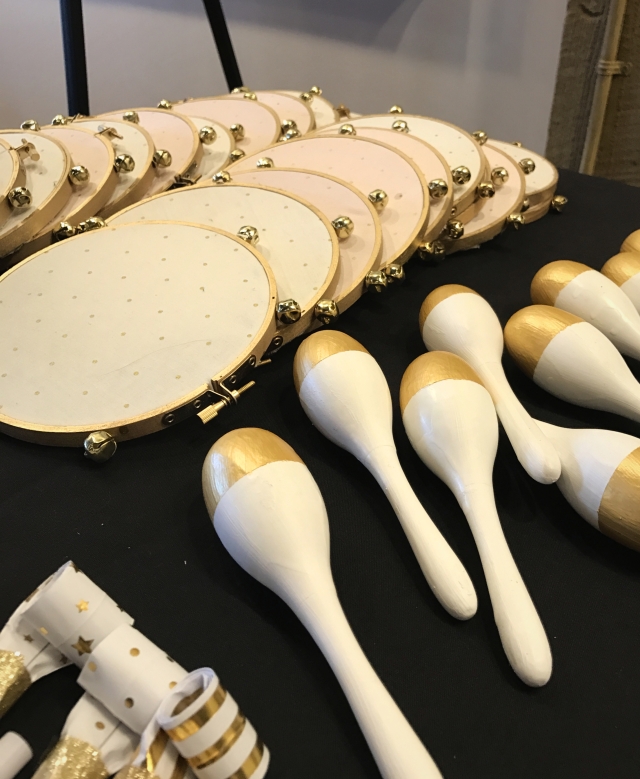
I also made these super cute tambourines. See above.
What you need to make your own tambourine:
embroidery hoop – I used 6” (order here)
fabric of your choice – I got mine from Hobby Lobby
jingle bells (order here)
glue – I used super glue (order here)
spray paint of your choice
Step 1: Spray paint embroidery hoops.
Step 2: Cut fabric into squares a little large than your hoop.
Step 3: tighten the fabric onto the embroidery hoop and cut off excess fabric.
Step 4: Glue bells on the outside of the hoop.
How easy is that? The kids were able to take these home with them as favors, too.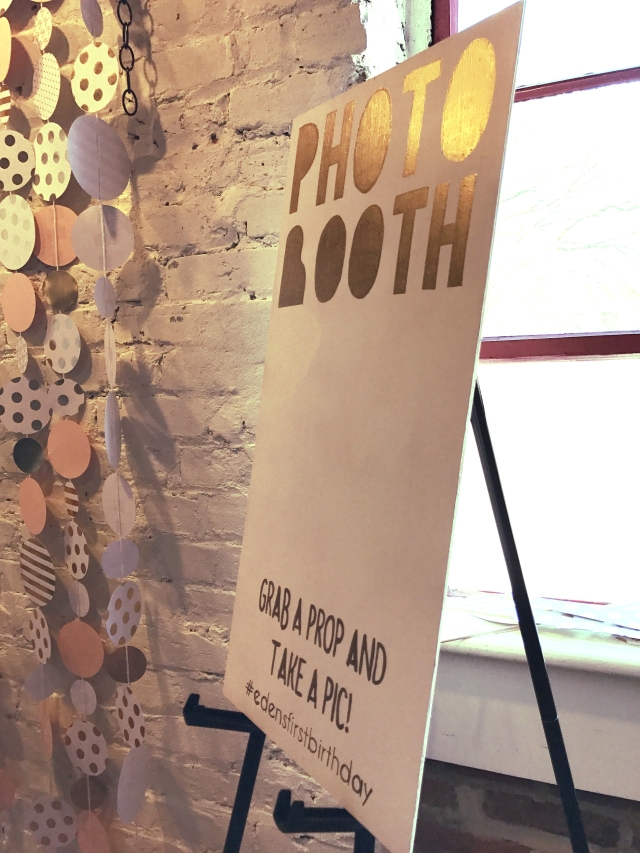
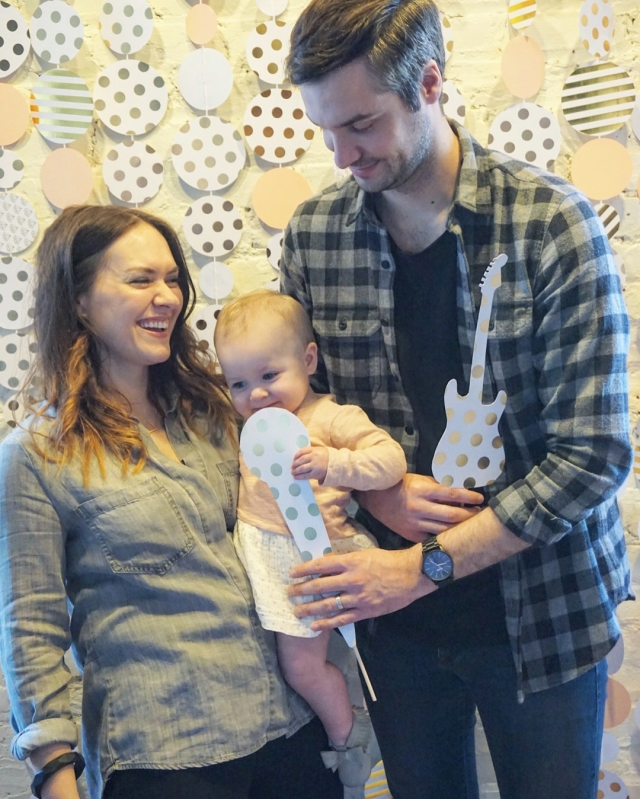
Photo Booth Area:
Every party needs a photo booth area. What would you post to Instagram without one??
At the last minute, I cut out circles with all the leftover paper from the other crafts I made for the party and taped them to yarn. I tied them to a chain and then hung that on the wall. I also printed out musical instruments from cardstock to use as props. See pic below: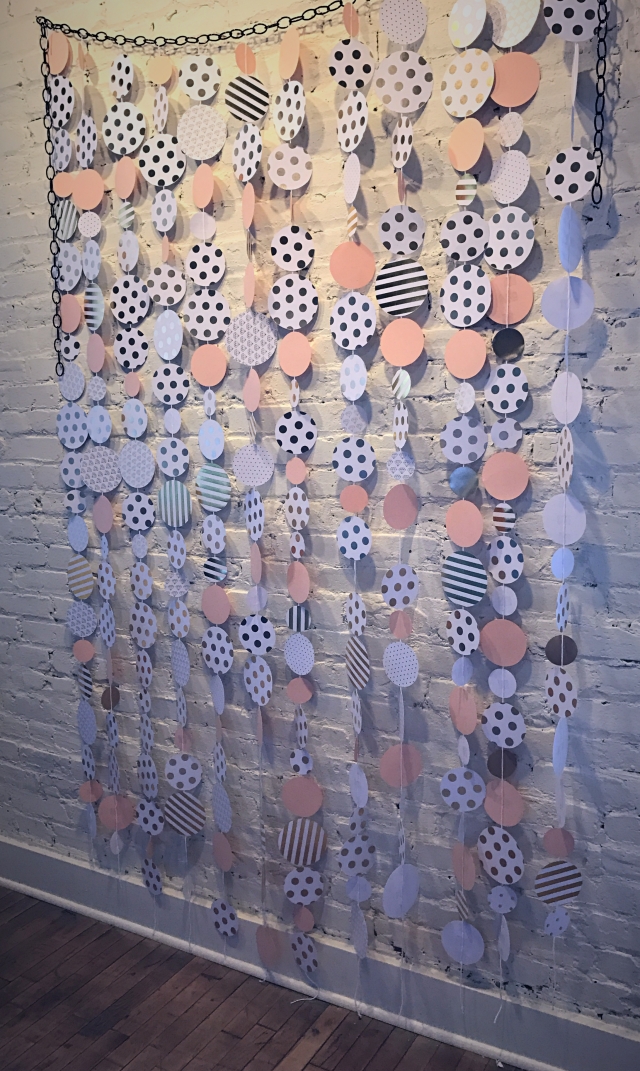
Chain / Circle Cutters
I decided to just use some card tables and paper plates and plastic cups to do a ‘table setting’. Links below: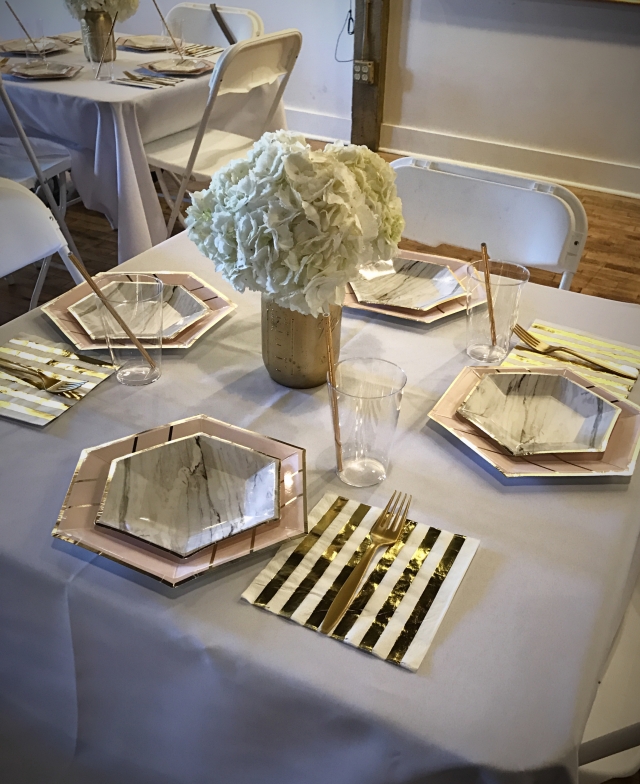
Big plates: PaperBoy
Small plates: Shop Sweet Lulu
Cups: Party City
Straws: Target
Tablecloths: Amazon
Napkins: Target
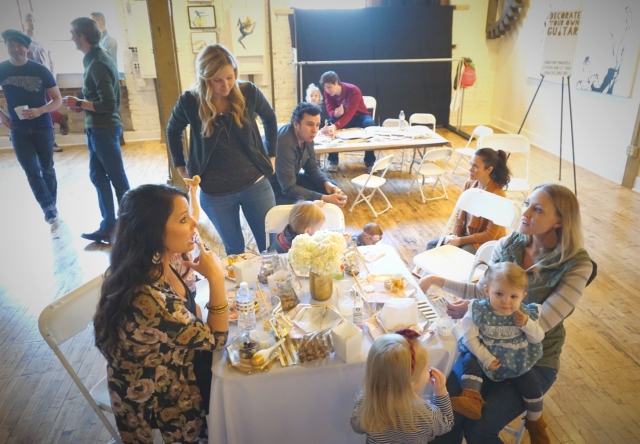
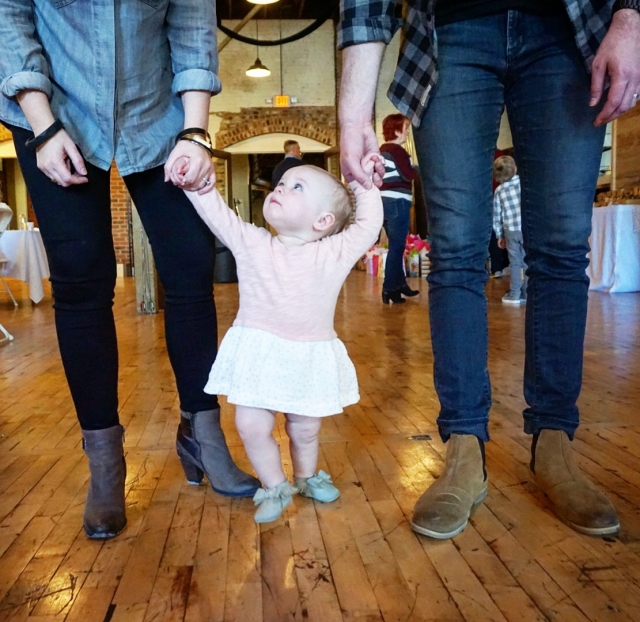
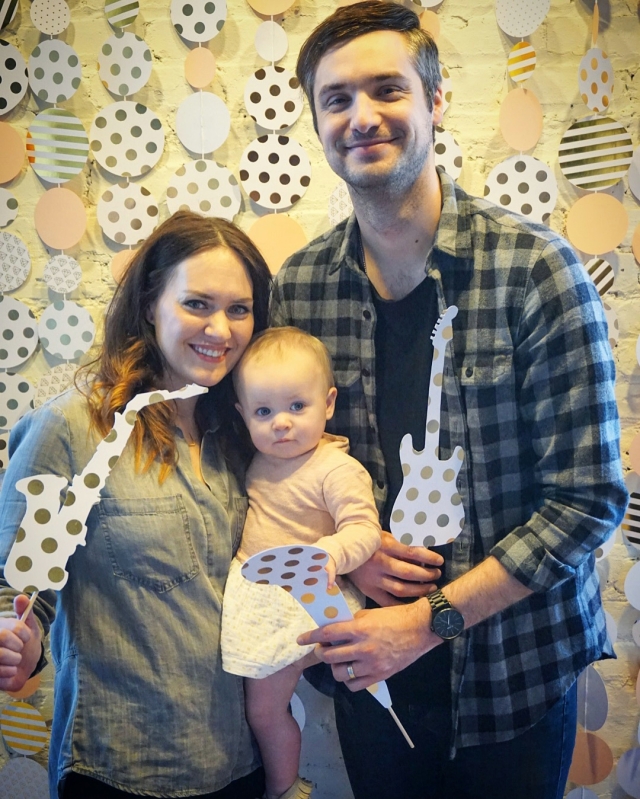
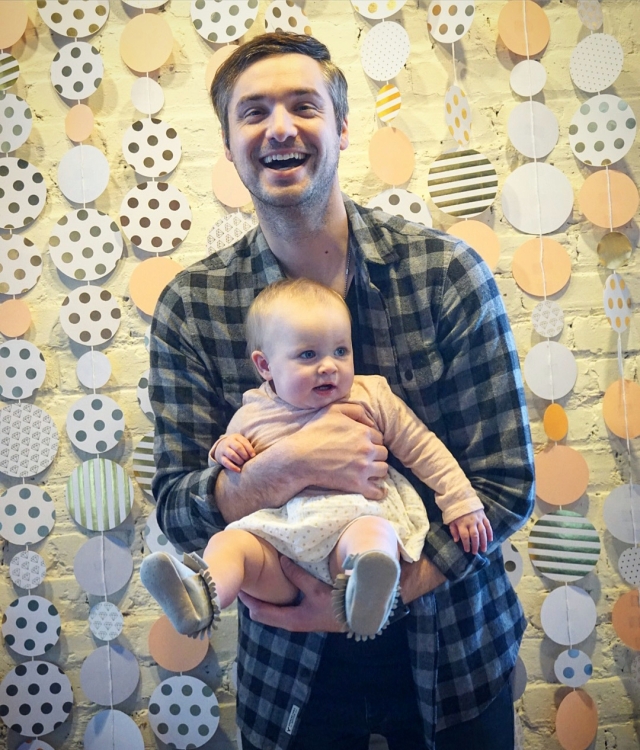
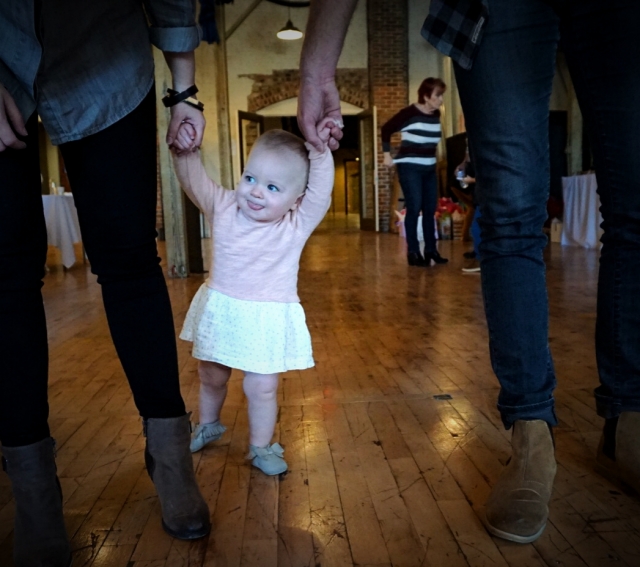
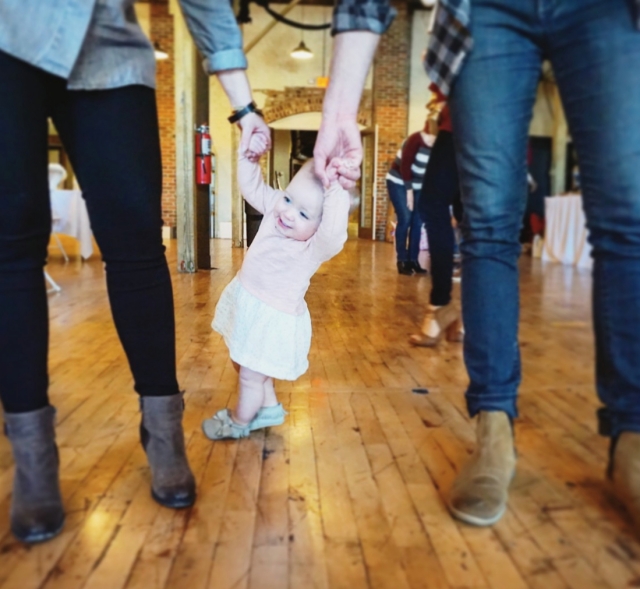
Enjoy some more pics of the party and my squishy-legged baby below: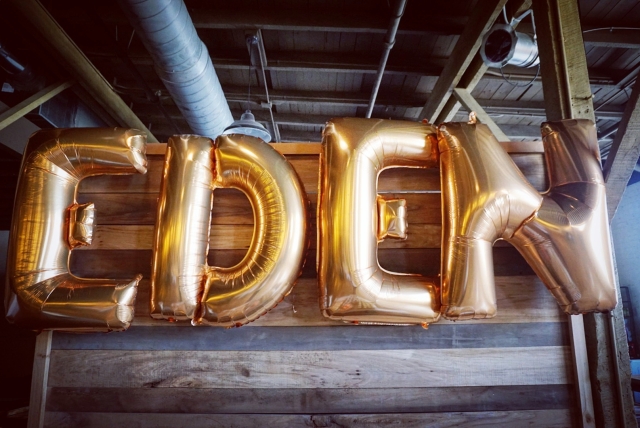
Gold Letter Balloons
Affiliate links are used in my post. What does that mean? If you purchase through my link I will receive a small commission! However, I only ever recommend products/services that I absolutely LOVE and use myself! If you choose to support me through purchasing through my links allows me to continue to bring you info that you enjoy and hopefully use. So I thank you for any and all support.